Motorized Balancing Toy

Materials:
• Annealed steel wire (bailing wire)
• A hobby motor
• About a 2' solid core copper wire (we like to use twisted pair telephone wire for this)
• AA battery
• Wide rubber band or inner tube slice
• 1'' x 6'' wood dowel
• Small piece of wood (1/2' x 4 x 4'') for a base
• Small piece of foam core
• Popsicle stick
Tools:
• Scissors
• Pin nosed pliers
• Small wood saw
• Hot glue gun
This project addresses two basic mechanics concepts, center of mass and torque. In order to get the toy to balance you have to find the center of mass of an asymmetric object, the motor wire and battery. Because the toy is essentially a beam you're dealing with an issue of torque. That is to say the twisting force on the toy will be equal to the weight of whatever is at the end of the wire (the motor or battery) and how far the motor or battery is from the balance point (the center of mass).
When it comes to powering the toy, you also have to deal with issues of torque. The main difference being the force comes from the propeller not gravity, so the size and shape of the propeller are a determining factors. Less obviously, the torque force the propeller can put on the whole toy (which effects how fast it will spin) is determined by this pushing force and the distance the propeller is from the pivot point on the wire. This is similar to how the effect of the weight differed based on its distance from the balance point. This is to say that the further the motor is from the pivot point as compared to the battery the faster the the toy will spin. If you added a lot of extra weight to the motor so it balances much closer to the pivot point than the battery you would get a very slow spinning toy. Even though the propeller's pushing power would be the same its torque would be greatly reduced. Although this project has an electrical component it focuses primarily on achieving balance and the right spinning speed not the circuit. That said, we consider this a mechanics project not an electricity project.

The first step in creating your balancing toy is to wrap one end of an about 14'' piece of annealed steel wire around your motor so it is held securely.

Next, put a broccoli rubber and or inner tube section on a AA battery and slip the other end of the wire under it like so.

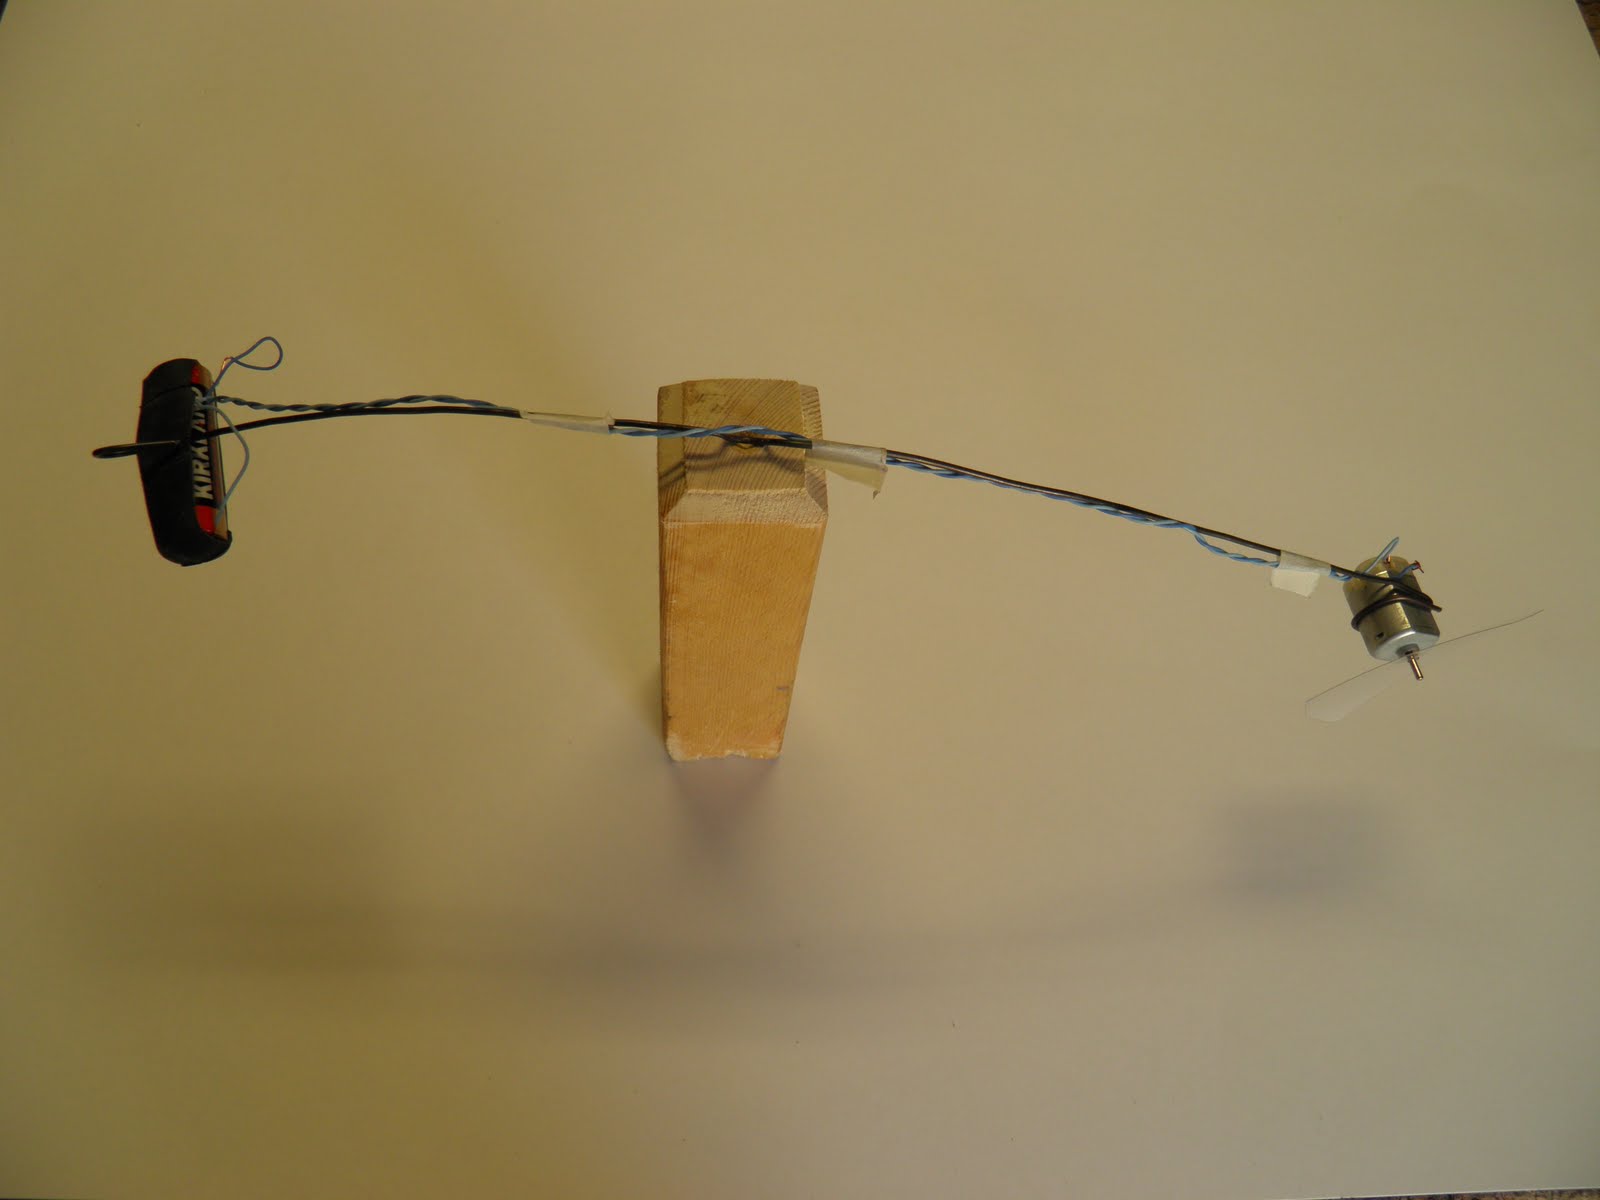
Find the balance point of the three pieces, you can do this by holding the toy on one finger and sliding it back and forth until it balances as seen above. Note the balancing point is not going to be in the middle of the wire, as the battery is heavier than the motor the balance point will be closer to it than to the motor.

Next add a divot in the wire for the toy to pivot on. Placing both thumbs at the balancing point bend the wire up into a shallow "V."

About 1/2'' from the center of your "V" bend the wire back down.

Do the same thing on the other side.

You should end up with something that looks like this.

Try to balance your toy on your finger again. The angle of the wire and the position of the battery will probably need some adjusting to get it to balance straight. Note that the motor and battery are a little below the bottom of the pivot point, this is critical to prevent the toy from tipping over.

Next, make a propeller by cutting a diagonal oval out of the side of a cup or bottle and use a pin to poke a hole for the motor shaft in the middle.

Wire up the motor and batter, using some small gauge solid core wire. We like telephone or network cable wire for this as they come in pretested pairs. Strip both ends of the wire, twisting one end onto the motor terminals. Twist the wire around the annealed steel wire until you reach the battery. Then slip the wires under the rubber band the motor should start spinning.

Finally, add a stand and some decorations. The stand consists of a 1'' dowel with a divot in one end (to hold the toy) made by twisting and pressing a Phillips head screw driver into the dowel and then hot gluing it onto a 4''x 4'' piece of wood. We also decorated the toy by adding some plane wings using foam core and a Popsicle stick in this version, but making it look like anything that flies gives a cool effect. Note that the decoration will add weight to the motor side so you may need to slide you battery further out or add some washers to re-balance the toy. The biggest challenge is getting the speed right. Typically these toys will initially spin absurdly fast, getting them to slow down can be achieved in a number of ways. The simplest way is to reduce the size of the propeller in order to lessen the spinning force. Alternately, you can move the battery further out by twisting on more wire (and counterweighting the motor appropriately) in order to increase the torque necessary to get the whole thing to spin. The slowest speed would be achieved with a toy weighted so the battery is further from the pivot than the motor and a small propeller.
Here's a couple videos of the motorized balancing toy in action.


