Sound Projects
There are a lot of good sound projects out there, and in the past when we've explored sound with students we've started with a variety of wind instruments developed by other organizations. Below I will list some some of our favorites, with some modifications and technical notes.

Slinkys and waves:
At the most basic conceptual level, sound is about waves, but not like ocean waves that oscillate up and down, but rather waves of compressed material traveling through space. Sound, to many kids' surprise, can travel through any type of matter, traveling faster in non-compressible materials like water and metals and slower in compressible things like gases and spongy solids. To complicate matters further, sound travels faster in lighter material than in more massive material.
The best simple demonstration of this we found is The Exploratorium's Slinky in Hand science snack, it gets at the difference between a transverse wave (a water wave b.) and a compression wave (a sound wave a.) and begins to discuss the idea of resonance. They suggest that you use monofilament to demonstrate a compression wave, while this may make everything a little clearer, we never found it unnecessary, as you can get good results just by stretching the slinky between 2 people and then having one person hit the back of the hand holding the slinky with their free hand to make a compression wave.

Palm Pipes:
Wind instruments are a good way to get at the concept of resonance. To correlate the idea that it's mostly the length of air enclosed in the instrument that controls the pitch of the sound it makes. Somewhere between the slinky demonstration and wind instruments are tuned percussive instruments; think of it as a single pulse wind instrument. Palm Pipes are a simple way to connect the length of the resonator, in this case a piece of PVC pipe, to a specific frequency sound produced. If you search Palm pipes you'll find a lot of different sites, but here are a few we think are fairly thorough, here and here.
By blowing over the pipes (try open and closed) or hitting them on your palm, as the name suggests, each length will produce a specific note. Giving each student a pipe section and asking them to figure out how to get their PVC pipe sections to make noise (find ways to vibrate the air inside them) and then to identify what physical characteristics determine tone vs timbre, is a useful exercise.

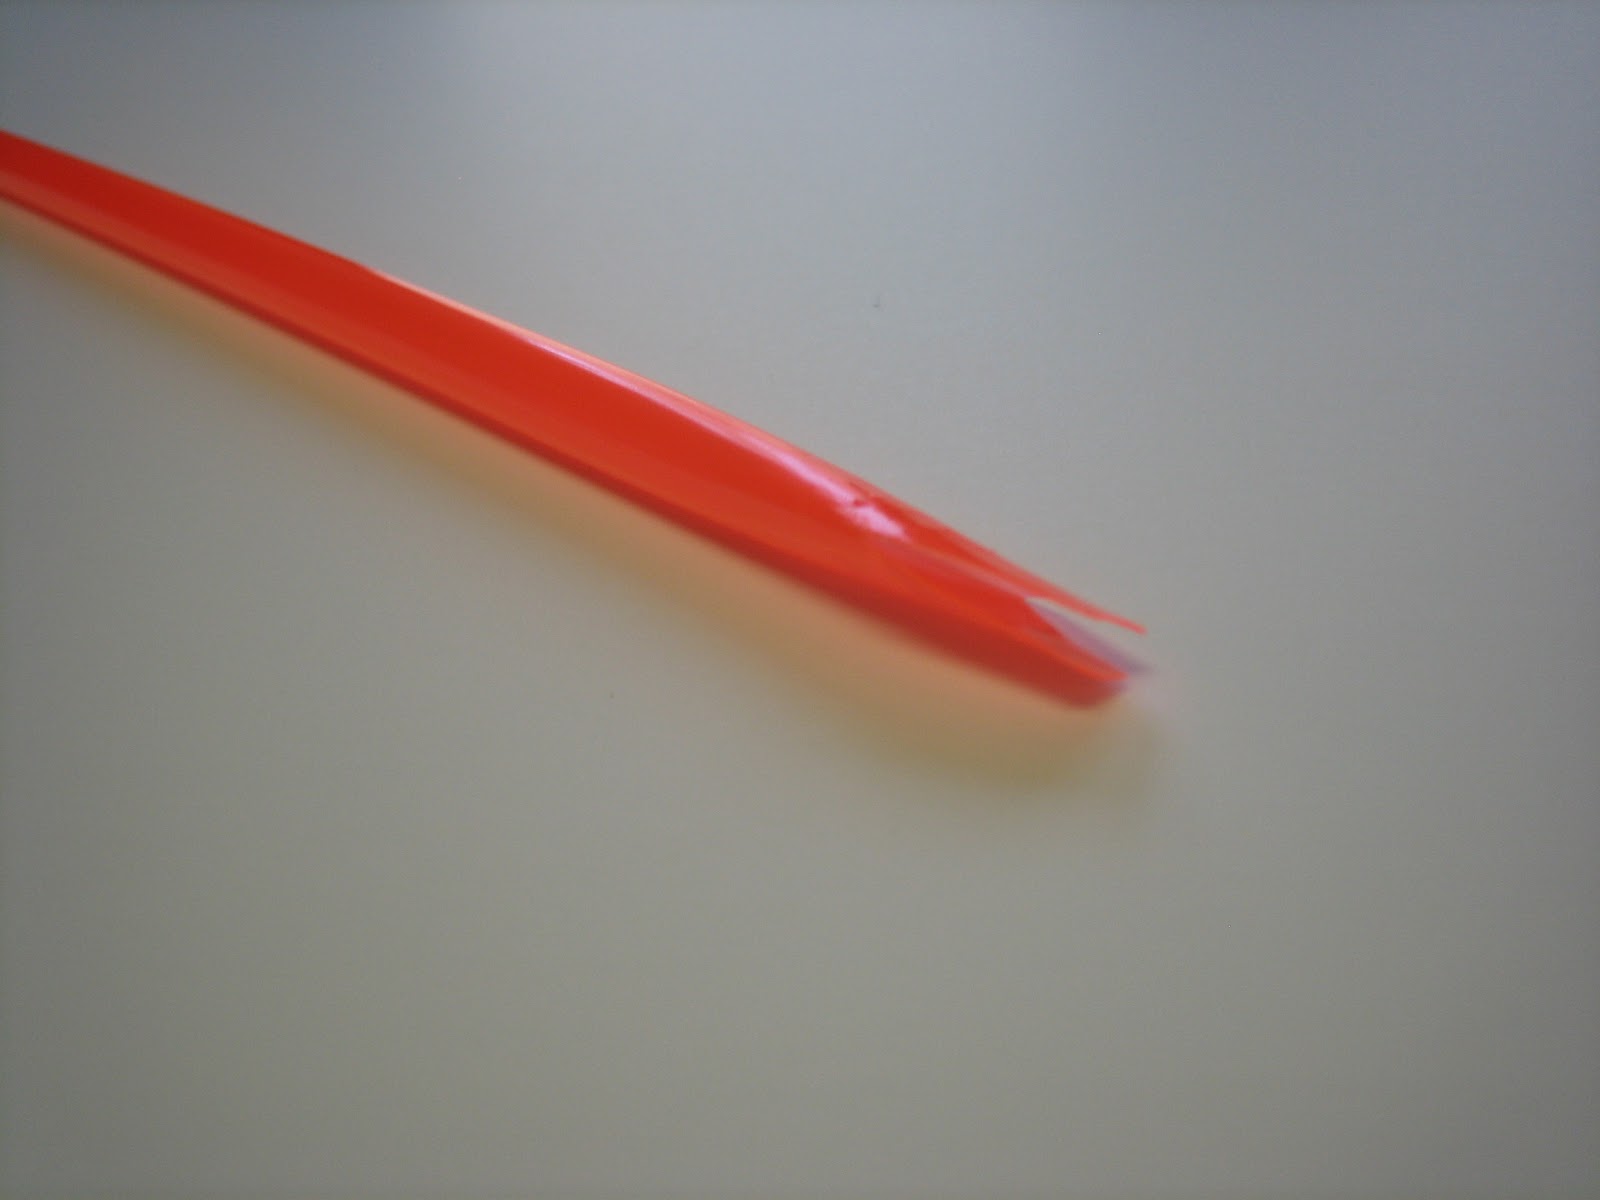
Straw Oboe:
After the Palm Pipes, the Straw Oboe is probably the simplest known wind instrument, consisting of a straw that has been flattened at one end, and the corners cut off to make an oboe-like reed. You can demonstrate that the length controls the pitch (the frequency of the sound waves) by playing the straw while cutting off the end with scissors, the pitch will get higher and higher as the straw gets shorter. For a less destructive way of changing the pitch, you can add finger holes to the straw. While the Science Snack suggests using a soldering iron we found that just folding the straw and cutting off the corner of the fold produces good finger holes.
If a finger hole is uncovered, the sound wave treats it as if the straw ends at that point, bouncing back early, allowing you to change the pitch dramatically.

Despite its extreme simplicity Straw Oboes can be hard to use for younger kids, as you may need to squeeze the straws a little with your lips to get them to play. This is especially true if you have really larger stiffer straws (jumbo straws), so go for the smaller squishy ones (not the jumbo straw in the picture).


In both the case of the Straw Oboe and the Glove-a-phone, you have a valve (the reeds of the straw or the membrane of the Glove-a-Phone) and a resonator (the straw or cardboard tube). When you blow into the instrument, the valve releases a pulse of air and then closes because of the vacuum in the straw or tube after the initial pulse of air. This pulse of air travels down the tube with only vacuum behind it, and when it exits the tube, air from outside the tube rushes in to fill the vacuum. This second wave travels back to the valve and collides with it, pushing it open and allowing the next pulse of air to exit the valve. Given the speed of sound in air is more or less constant, the biggest factor in the frequency of the pulses is the length the wave has to travel from the valve to the end of the tube and back.
Relay-Like Game that Demonstrates Resonance in Wind Instruments
Straw Oboe:
After the Palm Pipes, the Straw Oboe is probably the simplest known wind instrument, consisting of a straw that has been flattened at one end, and the corners cut off to make an oboe-like reed. You can demonstrate that the length controls the pitch (the frequency of the sound waves) by playing the straw while cutting off the end with scissors, the pitch will get higher and higher as the straw gets shorter. For a less destructive way of changing the pitch, you can add finger holes to the straw. While the Science Snack suggests using a soldering iron we found that just folding the straw and cutting off the corner of the fold produces good finger holes.
If a finger hole is uncovered, the sound wave treats it as if the straw ends at that point, bouncing back early, allowing you to change the pitch dramatically.

Despite its extreme simplicity Straw Oboes can be hard to use for younger kids, as you may need to squeeze the straws a little with your lips to get them to play. This is especially true if you have really larger stiffer straws (jumbo straws), so go for the smaller squishy ones (not the jumbo straw in the picture).

While the Glove-a-Phone (from RAFT) has more parts, it can be easier to use than a Straw Oboe and makes a much deeper and somewhat less obnoxious sound. We have made a few simple improvements to the original design. We tend to use Nitrile instead of rubber gloves as they are hypoallergenic and we found they are less prone to breaking from the vibration. We also found that the straw can come out quite easily and is very hard to put back in. By rolling the glove around the straw and then taping past the connection and spiraling up the straw, it is much more securely attached, and fewer gloves are wasted.

Another thing we spent some time on was figuring out how to allow the Glove-a-Phone to play notes outside of range determined by the length of the tube and the tightness of the glove. We tried making finger holes but found that they had to be really big to change the pitch significantly, we suspect this has to do with the ratio between the diameter of the tube and finger hole size being too high. However making a slide out of construction paper (a trombone Glove-a-Phone) works very well allowing major changes in tone not possible by just stretching the glove.

In both the case of the Straw Oboe and the Glove-a-phone, you have a valve (the reeds of the straw or the membrane of the Glove-a-Phone) and a resonator (the straw or cardboard tube). When you blow into the instrument, the valve releases a pulse of air and then closes because of the vacuum in the straw or tube after the initial pulse of air. This pulse of air travels down the tube with only vacuum behind it, and when it exits the tube, air from outside the tube rushes in to fill the vacuum. This second wave travels back to the valve and collides with it, pushing it open and allowing the next pulse of air to exit the valve. Given the speed of sound in air is more or less constant, the biggest factor in the frequency of the pulses is the length the wave has to travel from the valve to the end of the tube and back.
Relay-Like Game that Demonstrates Resonance in Wind Instruments
Player 1 (The Input/Valve): This person represents the vibration (e.g., lips buzzing in a trumpet). The start of the sound wave or energy pulse is created by taking a short breath and making a quick push of air.
Player 2 (The Reflector/The Clapper): This person acts as the end of the tube, which is either open or closed. When the pulse of air reaches the end, they act like a mirror, bouncing or reflecting the pressure wave straight back down the column.
Player 3 (The Sustained Sound Wave): This person represents the sound wave traveling between the input and the reflector, then traveling back to the start.
One person to represent the valve at the top of your wind instrument, one to represent the bottom of the tube (the clapper), and one to represent the sound wave traveling between them (the runner). To simulate the resonator in a wind instrument, the valve player tags the wave player that runs to the end of the tube, tags the reflector player, and then runs back to the valve to get tagged and repeats the process. Every time the runner gets to the end of the tube, the reflector player claps. Have the input and reflector players move one step closer each time they are tagged. As the distance the runner travels from 20 feet down to zero, the clapper will clap more and more often.
If you wanted to make it a true relay you could replace the valve person with a cone and have each returning runner tag a new runner. This would be closer to reality as new air is emitted with each pulse.
Length is not the only factor in changing the pitch, in the Straw Oboe the size of the straw and how close the reed flaps are can change the tone produced slightly as this changes how fast the reed is able to open and shut. Biting down on the reeds softly tends to raise the pitch as the reeds can close more quickly. In the Glove-a-Phone using smaller tubes or tightening the membrane by pulling or pushing on it can also raise the pitch as it forces the membrane to open less and close faster.
Length is not the only factor in changing the pitch, in the Straw Oboe the size of the straw and how close the reed flaps are can change the tone produced slightly as this changes how fast the reed is able to open and shut. Biting down on the reeds softly tends to raise the pitch as the reeds can close more quickly. In the Glove-a-Phone using smaller tubes or tightening the membrane by pulling or pushing on it can also raise the pitch as it forces the membrane to open less and close faster.


